
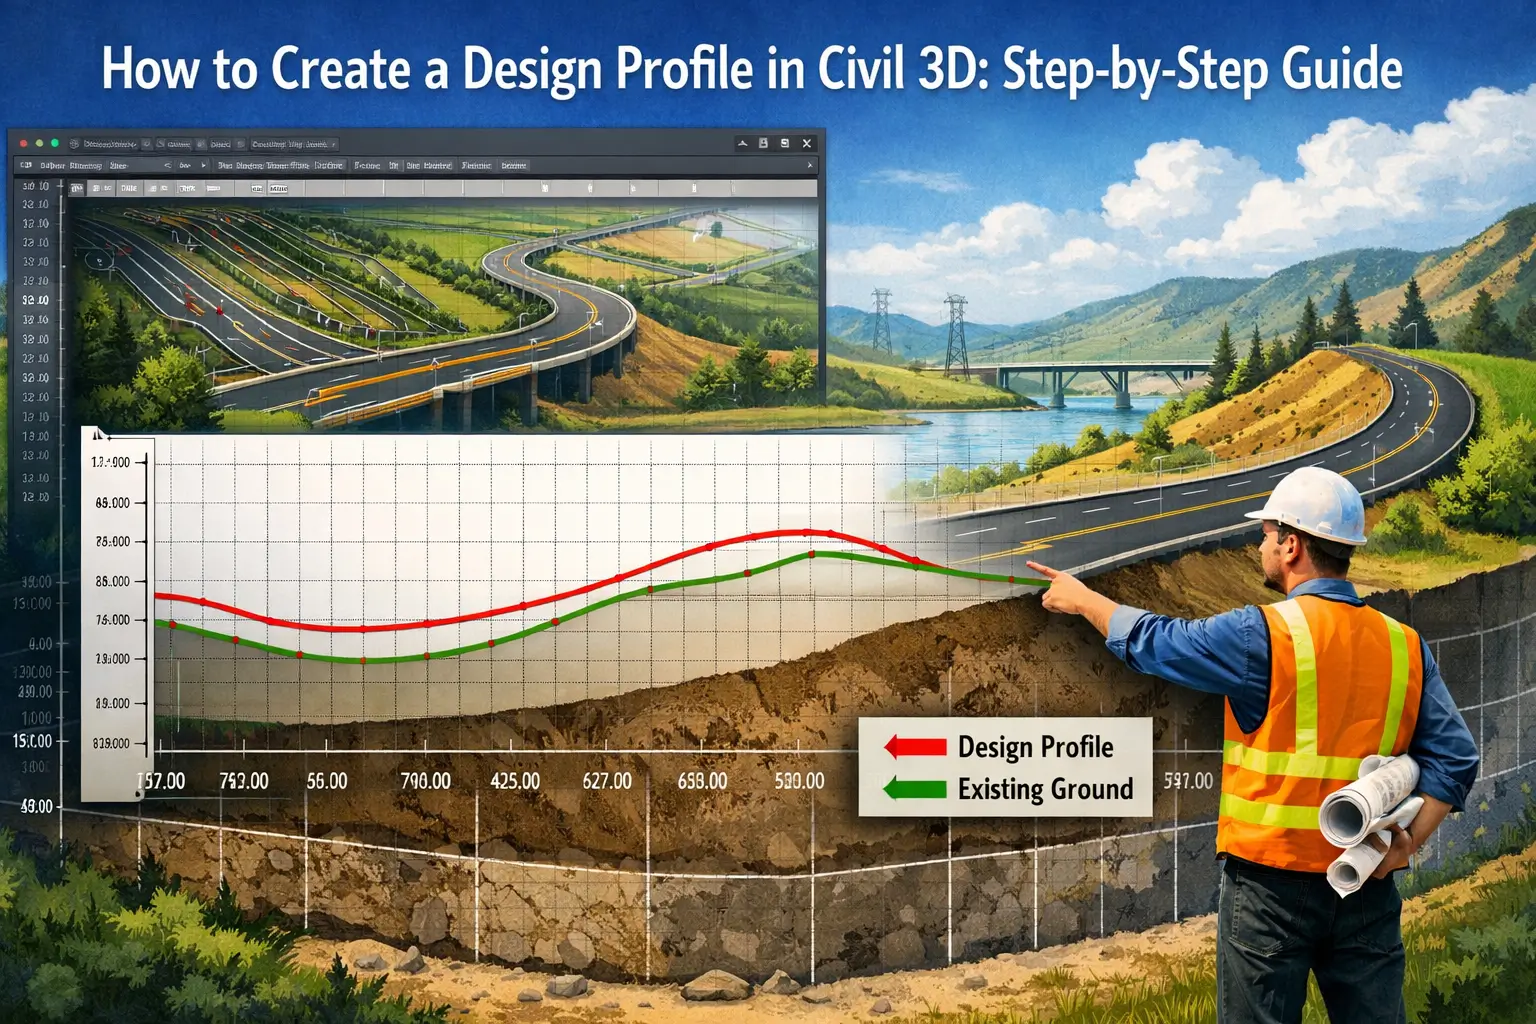
How to Create a Design Profile in Civil 3D: Step-by-Step Guide
Creating an accurate design profile in Civil 3D is essential for engineers and designers working on road design civil 3d or any civil 3d site design project. This guide walks you through the process using the latest 3D civil design software, ensuring your project meets both aesthetic and functional standards. Check out our civil design projects for step to step guide.
How to Create a Design Profile in Civil 3D
Read the blog post below for more guide on How to Create a Design Profile in Civil 3D.
1. Understanding the Basics of Civil 3D Profiles
A design profile in civil design 3d represents the vertical alignment of a roadway or corridor. Profiles help you visualize slopes, elevations, and cut-and-fill requirements. Before creating one, make sure you have a well-defined 3d civil design plan ready.
Key components include:
- Existing ground surface (EG)
- Design surface
- Profile views
- Alignment for the road or corridor
also read What Is Autodesk Assistant in Civil 3D?
2. Preparing Your Civil 3D Environment
Start by setting up your 3d civil design software project:
- Open Civil 3D and load your project.
- Ensure your surfaces and alignments are properly defined.
- Verify that your civil 3d site design elements are correctly referenced.
Pro Tip: Use layers and styles consistently to make road design civil 3d easier to manage.
3. Creating a Design Profile in Civil 3D
Follow these steps to create a robust design profile:
- Select the Alignment:
Navigate to the Home tab > Create Design Panel > Alignment. Choose the alignment for which you want to create the profile. - Launch the Profile Creation Tool:
Go to Home > Profile > Create Design Profile. This tool allows you to define your vertical design. - Define Design Parameters:
Enter parameters such as starting elevation, minimum and maximum slope, and vertical curve lengths. These are crucial for civil design 3d accuracy. - Generate the Profile:
Click OK to create the profile. Your design profile will appear in the profile view associated with the selected alignment. - Adjust and Refine:
Modify vertical curves, slopes, and elevations as needed. The 3d civil design environment allows real-time updates to the road design civil 3d project.
4. Adding the Profile to Your Civil 3D Site Design
Once your profile is ready:
- Integrate it with your corridor models.
- Link the profile to grading or surface analysis tools.
- Check for any conflicts or design issues.
This ensures a seamless transition from concept to construction-ready civil 3d site design documentation.
5. Tips for Efficient Civil 3D Design Profiles
- Use dynamic labeling for elevations and slopes.
- Regularly update your 3d civil design software version for better performance.
- Incorporate feedback from field surveys to enhance accuracy.
- Combine multiple profiles for complex road design civil 3d projects.
Conclusion
Mastering how to create a design profile in Civil 3D is key to successful infrastructure and 3D civil design projects. By following these steps, you can streamline your civil 3d site design workflow, ensure accuracy, and produce professional-grade designs for any roadway or development project.

One Comment