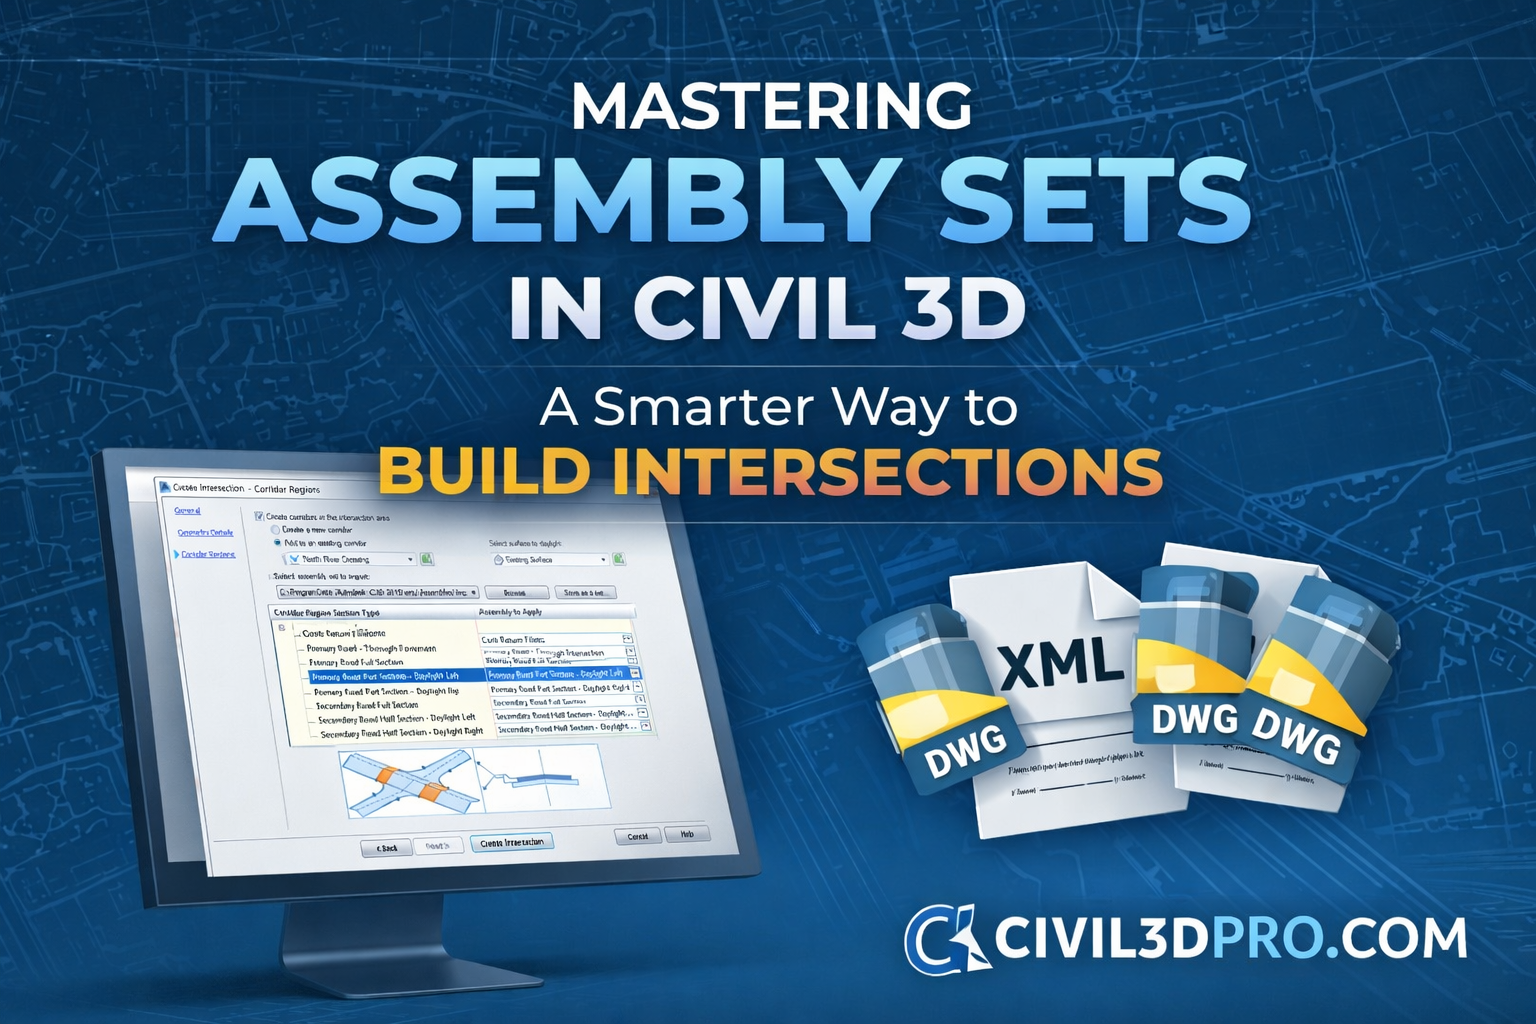
Mastering Assembly Sets in Civil 3D
When working in Autodesk Civil 3D, creating intersections can sometimes feel complex—especially when dealing with multiple assemblies and corridor regions. But here’s the good news: you don’t need to have everything prepared beforehand. Civil 3D offers a powerful and efficient way to handle this using Assembly Sets.
What Are Assembly Sets?
Assembly Sets are essentially predefined collections of assemblies that Civil 3D uses when creating intersections. Instead of manually assigning assemblies every time, you can group them into a set and reuse them across multiple projects.
When you launch the Create Intersection Wizard, the Corridor Regions page displays a list of assemblies from your Civil 3D plans. Even if those assemblies are not currently part of your drawing, Civil 3D will automatically pull them in when you create the intersection.
Why Default Assemblies Aren’t Always Enough
Civil 3D provides default intersection assemblies, but they are designed to be generic. In real-world projects, your design requirements may differ significantly.
That’s why it’s highly recommended to:
- Customize assemblies according to your project needs
- Save them as a reusable assembly set
- Apply them consistently across similar designs
This approach not only improves accuracy but also ensures consistency throughout your work.
Step-by-Step: Creating Your Own Assembly Set
Follow these simple steps to create and save your custom Assembly Set:
1. Prepare Your Assemblies
Start with a drawing that contains all the assemblies you want to include. These could be lane assemblies, curb returns, daylight sections, and more.
2. Open the Create Intersection Wizard
Navigate through the wizard until you reach the Corridor Regions page.
3. Assign Assemblies to Regions
For each corridor region section type:
- Click the ellipsis (…) button
- Select the appropriate assembly for that section
This allows you to define exactly how each part of the intersection behaves.
4. Save as an Assembly Set
Once everything is configured:
- Click “Save As Set”
- Civil 3D will generate an XML file containing your assembly list
- It will also create separate DWG files for each assembly
Best Practice: Store Your Assembly Set on a Network
To maximize efficiency:
- Save your Assembly Set in a shared network location
- Allow your team members to access and reuse it
This promotes standardization across your office and reduces repetitive work.
Reusing Assembly Sets in Future Projects
The next time you create an intersection:
- Click Browse in the wizard
- Select your saved XML file
Civil 3D will automatically load all your predefined assemblies—saving you time and ensuring consistency.
Final Thoughts
Assembly Sets are a game-changer for Civil 3D users working on intersections. Instead of rebuilding configurations every time, you can create once and reuse forever.
By implementing Assembly Sets in your workflow, you will:
- Reduce design time
- Improve consistency
- Enhance project accuracy
If you’re serious about mastering Civil 3D, this is one feature you shouldn’t overlook.
Stay tuned to Civil3DPro.com for more practical tutorials and expert tips!