Civil 3D Pro Tutorials for New Users
Civil 3D pro is one of the most popular services for designing and drawing civil engineering projects. If you want to be a civil engineer or are already one and want to improve your abilities, you need to study Civil 3D trainings. This software’s extensive tools for site planning, land development, and transportation design may make your task a lot easier if you learn how to use them.
In this post, we’ll go over several important Civil 3D pro lessons that any new user should do to have a good start and work more efficiently in the field.
1. Getting Started with Civil 3D Interface
The first thing novices need to do is learn how to utilise the user interface (UI). Civil 3D includes a lot of features and a full interface, which might be a lot to take in at first. But dividing it into important parts might help you go around more easily:
- Ribbon: Contains tools and commands for drafting, design, and analysis.
- Toolspace: Provides easy access to your project’s data, like alignments, profiles, surfaces, and more.
- Drawing Area: This is where you perform all your design work and visualize your project.
Tutorial Highlights:
- How to open and save projects.
- Customize the interface for quicker access to frequently used tools.
- Introduction to the tool palettes and command line.
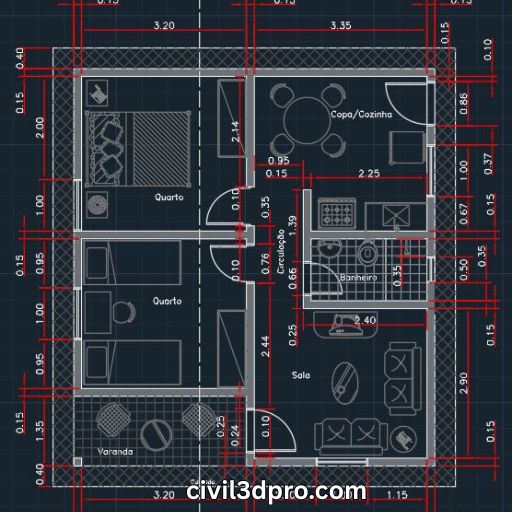
2. Creating and Managing Surfaces
Surfaces are critical in land development projects. Civil 3D allows you to create digital terrain models (DTM), which represent the topography of the land.
Tutorial Highlights:
- Creating a Surface: Learn how to import survey data and create a surface from it.
- Editing Surfaces: Understanding contours, breaklines, and boundaries.
- Analyzing Surfaces: Use tools like Slope Analysis and Elevation Analysis for better decision-making.
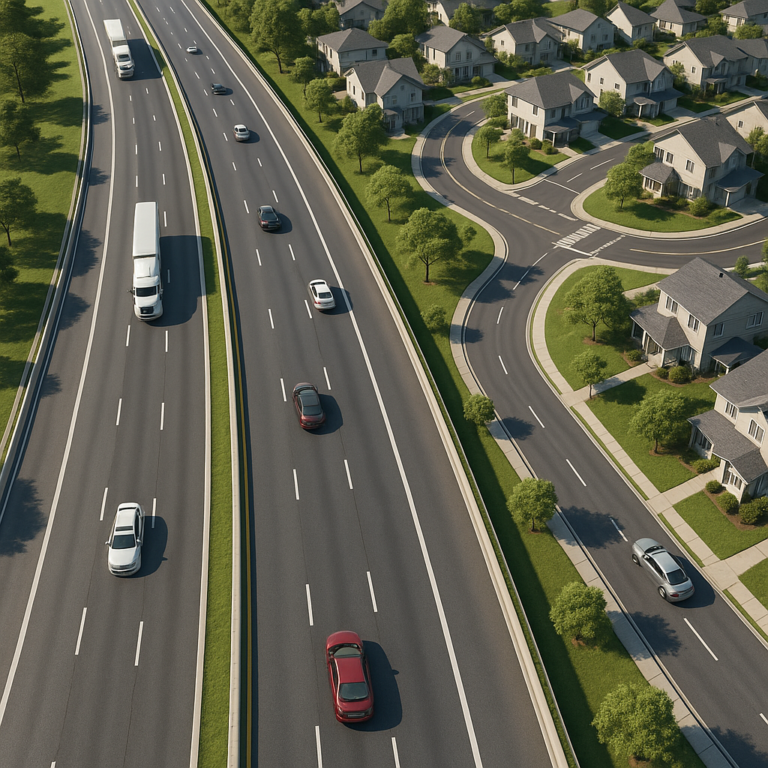
3. Designing and Drawing Alignments
Alignments represent the centerline of roads, railways, or other transportation corridors. Drawing alignments is one of the most fundamental tasks in Civil 3D.
Tutorial Highlights:
- How to create alignments using polylines, curves, and arcs.
- Best practices for alignment naming conventions.
- Understanding the importance of alignments for subsequent design work, such as creating profiles and corridors.
4. Creating and Editing Profiles
Profiles represent the elevation of the land along a specific alignment. This is a key aspect of road design, water systems, and drainage analysis.
Tutorial Highlights:
- Creating Profiles: Learn how to generate profiles from surfaces and alignments.
- Editing Profiles: Modify profiles to adjust vertical alignments or accommodate design criteria.
- Profile Views: Customizing the profile view for presentations and documentation.
5. Corridor Modeling
Corridors are the 3D representation of your design, showing how the road or path will look once constructed. Understanding how to create and manipulate corridors is essential for all types of civil design.
Tutorial Highlights:
- Creating Corridors: Learn how to build a corridor from alignments, profiles, and assemblies.
- Editing Corridors: How to apply changes and adjustments to the model as the design progresses.
- Corridor Quantities: Learn how to generate material takeoffs and quantities from your corridor model.
6. Grading and Site Design
Grading in Civil 3D involves shaping the land to fit your design, such as creating slopes for drainage or leveling out areas for construction.
Tutorial Highlights:
- Grading Tools: Introduction to grading creation, including the use of Grading Objects.
- Designing Slopes: Learn how to apply slopes to surfaces and roads for optimal drainage.
- Lot and Parcel Design: Use Civil 3D’s parcel tools to subdivide land into lots for residential or commercial developments.
7. Pipe Networks for Stormwater and Sanitary Design
Designing stormwater, sewer, and other underground utilities is another essential aspect of Civil 3D. The software’s pipe network tools allow you to design, analyze, and document drainage systems.
Tutorial Highlights:
- Creating Pipe Networks: Learn how to lay out pipes for stormwater, sanitary, and other systems.
- Analyzing Pipe Networks: Use tools for capacity analysis, flow calculations, and network connectivity.
- Labeling and Documentation: Efficiently annotate and document pipe systems for construction drawings.
8. Creating and Annotating Sections
Sections are cross-sectional views of your design, providing detailed information about the project’s layout and elevation.
Tutorial Highlights:
- Creating Section Views: Learn how to generate section views along alignments.
- Customizing Section Views: Adjust section styles, labels, and annotations for your project’s needs.
- Section Views in Presentations: Present sections in reports or use them for further design refinement.
9. Working with Point Clouds
Point clouds, often obtained from surveys or LIDAR, allow users to work with highly accurate topographic data. Civil 3D includes powerful tools for working with point cloud data.
Tutorial Highlights:
- Importing Point Clouds: Learn how to bring in point cloud data from different file formats.
- Point Cloud Classification: Classify points for better data management.
- Creating Surfaces from Point Clouds: Use point clouds to create surfaces for your design work.
10. Exporting and Sharing Data
Once you’ve completed your design, sharing and exporting data becomes a crucial task. Civil 3D supports various formats for exporting your work.
Tutorial Highlights:
- Exporting to AutoCAD: Learn how to export Civil 3D objects and data to standard AutoCAD drawings.
- Creating DWF Files: Use DWF format for sharing files with other stakeholders.
- Exporting to GIS: Learn how to export your data for use in GIS (Geographical Information Systems) software.
Conclusion
Learning how to use Civil 3D may change the way you work on civil engineering projects, making design and drafting faster and more precise. New users may slowly learn the abilities they need to become good at the programme by following these important lessons. Civil 3D’s tools can help you work more efficiently, cooperate with others, and get professional-quality results, whether you’re designing a road, building a site, or working on a complicated infrastructure system.